As promised, here are the steps involved in creating a piece (the featured piece is titled "Afternoon Stroll") that is drawn with ink, scanned and colored digitally in Adobe Photoshop!
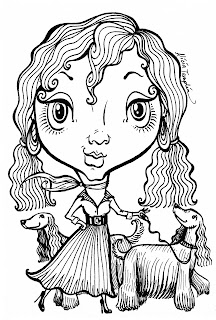
Step 1 - The thin-tipped black Sharpie drawing

Step 2 - I made the drawing layer transparent, then created a background layer, chose a brush tool that mimics the appearance of pastel, and used a very large-sized brush to sweep a couple of blue hues behind the girl and her smiley dogs. :-)
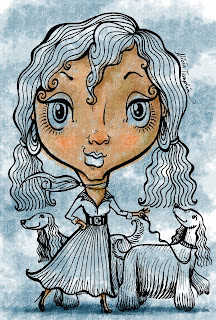
Step 3 - I created another layer atop of the blue background, then began brushing in her skin tones with an opaque fleshy color.
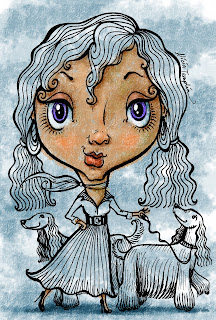
Step 4 - I wanted her eyes to really 'pop,' so I focused in on the whites of her eyes, and I chose an intense violet hue for her irises. I then decided to place shades of this same violet throughout the painting to harmonize it all.
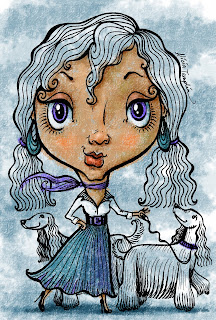
Step 5 - I didn't want her clothing to distract from her face, so I chose neutral colors for her blouse and skirt, and tied in her skirt with the blues of the background.
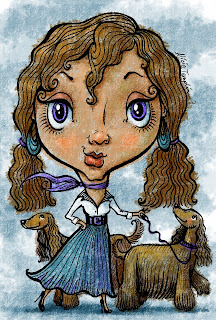
"Afternoon Stroll" Final Step! - I wanted the girl's and the dog's flowing hair to appear similar in style and color, so I used colors that were close, but not exactly the same.
So, that's how I go about it! In a near future post, I will be showing you a video of myself actually drawing one of these characters in ink. Come back soon!
Thanks for visiting, and God bless!
*All images copyright Alicia Templin 2010*


