As promised, here are the steps involved in creating a piece (the featured piece is titled "Afternoon Stroll") that is drawn with ink, scanned and colored digitally in Adobe Photoshop!
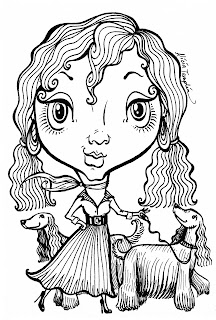
Step 1 - The thin-tipped black Sharpie drawing

Step 2 - I made the drawing layer transparent, then created a background layer, chose a brush tool that mimics the appearance of pastel, and used a very large-sized brush to sweep a couple of blue hues behind the girl and her smiley dogs. :-)
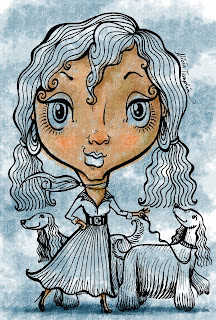
Step 3 - I created another layer atop of the blue background, then began brushing in her skin tones with an opaque fleshy color.
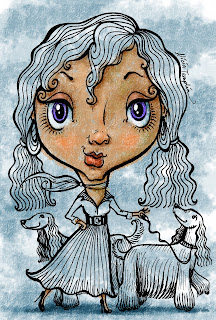
Step 4 - I wanted her eyes to really 'pop,' so I focused in on the whites of her eyes, and I chose an intense violet hue for her irises. I then decided to place shades of this same violet throughout the painting to harmonize it all.
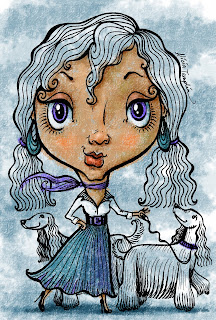
Step 5 - I didn't want her clothing to distract from her face, so I chose neutral colors for her blouse and skirt, and tied in her skirt with the blues of the background.
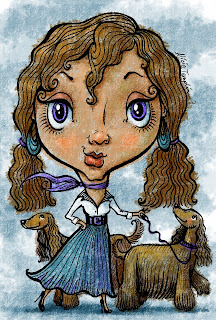
"Afternoon Stroll" Final Step! - I wanted the girl's and the dog's flowing hair to appear similar in style and color, so I used colors that were close, but not exactly the same.
So, that's how I go about it! In a near future post, I will be showing you a video of myself actually drawing one of these characters in ink. Come back soon!
Thanks for visiting, and God bless!
*All images copyright Alicia Templin 2010*

This comment has been removed by the author.
ReplyDeleteVery cool!
ReplyDeleteHave you used Painter at all in your work? Or do you use Photoshop for everything?
Thanks Timothy!
ReplyDeleteI've experimented with Painter a tiny bit ('mixing' the paint on the digital palette was fun!), but I mainly use Photoshop, and every now and then I'll work in Illustrator :-)
That is SOOOOOO cool!!!! You are talented lady :-)
ReplyDeleteThanks so much Tempkim! :-D
ReplyDelete